

Welcome back to ProProjectHub! In this blog post, we will be building a quiz application using HTML, CSS, and JavaScript. This interactive project will allow users to test their knowledge by answering multiple-choice questions. Let's dive right in!
Our quiz application will consist of the following components:
- HTML structure to define the layout of the quiz.
- CSS styling to make our quiz visually appealing.
- JavaScript functionality to handle the quiz logic, including displaying questions, accepting user answers, and calculating the score.
HTML Structure
We will start by setting up the HTML structure for our quiz application. Open your preferred text editor and create a new HTML file. Copy the following code into your file:
<!DOCTYPE html>
<html lang="en">
<head>
  <meta charset="UTF-8">
  <meta name="viewport" content="width=device-width, initial-scale=1.0">
  <title>Quiz Application</title>
  <link rel="stylesheet" href="styles.css">
</head>
<body>
  <div class="container">
    <h1>Quiz Application</h1>
    <div id="quiz-container">
      <div id="question-container"></div>
      <div id="answer-buttons"></div>
    </div>
    <div id="controls-container">
      <button id="start-btn" class="btn">Start Quiz</button>
      <button id="next-btn" class="btn hide">Next</button>
    </div>
    <div id="score-container" class="hide">
      <h3>Quiz Completed!</h3>
      <p id="score-text"></p>
    </div>
  </div>

  <script src="script.js"></script>
</body>
</html>
CSS Styling
Next, let's add some CSS styling to make our quiz visually appealing. Copy the following code into a new CSS file and link it to your HTML file:
body {
  font-family: Arial, sans-serif;
  background-color: #f4f4f4;
  margin: 0;
  padding: 0;
}

.container {
  max-width: 500px;
  margin: 0 auto;
  padding: 20px;
  background-color: #fff;
  border-radius: 5px;
  box-shadow: 0 2px 5px rgba(0, 0, 0, 0.1);
}

h1 {
  text-align: center;
}

.hide {
  display: none;
}

#quiz-container {
  margin-top: 20px;
}

#question-container {
  margin-bottom: 20px;
  padding: 10px;
  background-color: #f7f7f7;
  border-radius: 5px;
}

#answer-buttons {
  display: flex;
  flex-direction: column;
}

.btn {
  padding: 10px 20px;
  margin-top: 10px;
  font-size: 16px;
  text-align: center;
  color: #fff;
  background-color: #007bff;
  border: none;
  border-radius: 5px;
  cursor: pointer;
}

#score-container {
  text-align: center;
}

#score-text {
  margin-top: 10px;
  font-weight: bold;
}
JavaScript Functionality
Now it's time to add JavaScript functionality to our quiz application. Copy the following code into a new JavaScript file and link it to your HTML file:
const quizData = [
  {
    question: "What is the capital of France?",
    answers: [
      { text: "London", correct: false },
      { text: "Paris", correct: true },
      { text: "Rome", correct: false },
      { text: "Berlin", correct: false }
    ]
  },
  {
    question: "Which planet is known as the Red Planet?",
    answers: [
      { text: "Venus", correct: false },
      { text: "Jupiter", correct: false },
      { text: "Mars", correct: true },
      { text: "Saturn", correct: false }
    ]
  },
  // Add more questions following the same structure
];

const container = document.querySelector('.container');
const startButton = document.getElementById('start-btn');
const nextButton = document.getElementById('next-btn');
const questionContainer = document.getElementById('question-container');
const answerButtonsContainer = document.getElementById('answer-buttons');
const scoreContainer = document.getElementById('score-container');
const scoreText = document.getElementById('score-text');

let currentQuestionIndex = 0;
let score = 0;

startButton.addEventListener('click', startQuiz);
nextButton.addEventListener('click', () => {
  currentQuestionIndex++;
  setNextQuestion();
});

function startQuiz() {
  startButton.classList.add('hide');
  container.classList.remove('hide');
  setNextQuestion();
}

function setNextQuestion() {
  resetState();
  if (currentQuestionIndex < quizData.length) {
    showQuestion(quizData[currentQuestionIndex]);
  } else {
    finishQuiz();
  }
}

function showQuestion(question) {
  questionContainer.innerText = question.question;
  question.answers.forEach(answer => {
    const button = document.createElement('button');
    button.innerText = answer.text;
    button.classList.add('btn');
    if (answer.correct) {
      button.dataset.correct = answer.correct;
    }
    button.addEventListener('click', selectAnswer);
    answerButtonsContainer.appendChild(button);
  });
}

function resetState() {
  nextButton.classList.add('hide');
  while (answerButtonsContainer.firstChild) {
    answerButtonsContainer.removeChild(answerButtonsContainer.firstChild);
  }
}

function selectAnswer(event) {
  const selectedButton = event.target;
  const correct = selectedButton.dataset.correct;
  if (correct) {
    score++;
  }
  Array.from(answerButtonsContainer.children).forEach(button => {
    setStatusClass(button, button.dataset.correct);
  });
  if (currentQuestionIndex < quizData.length - 1) {
    nextButton.classList.remove('hide');
  } else {
    finishQuiz();
  }
}

function setStatusClass(element, correct) {
  clearStatusClass(element);
  if (correct) {
    element.classList.add('correct');
  } else {
    element.classList.add('wrong');
  }
}

function clearStatusClass(element) {
  element.classList.remove('correct');
  element.classList.remove('wrong');
}

function finishQuiz() {
  questionContainer.classList.add('hide');
  answerButtonsContainer.classList.add('hide');
  scoreContainer.classList.remove('hide');
  scoreText.innerText = `Your score: ${score}/${quizData.length}`;
}
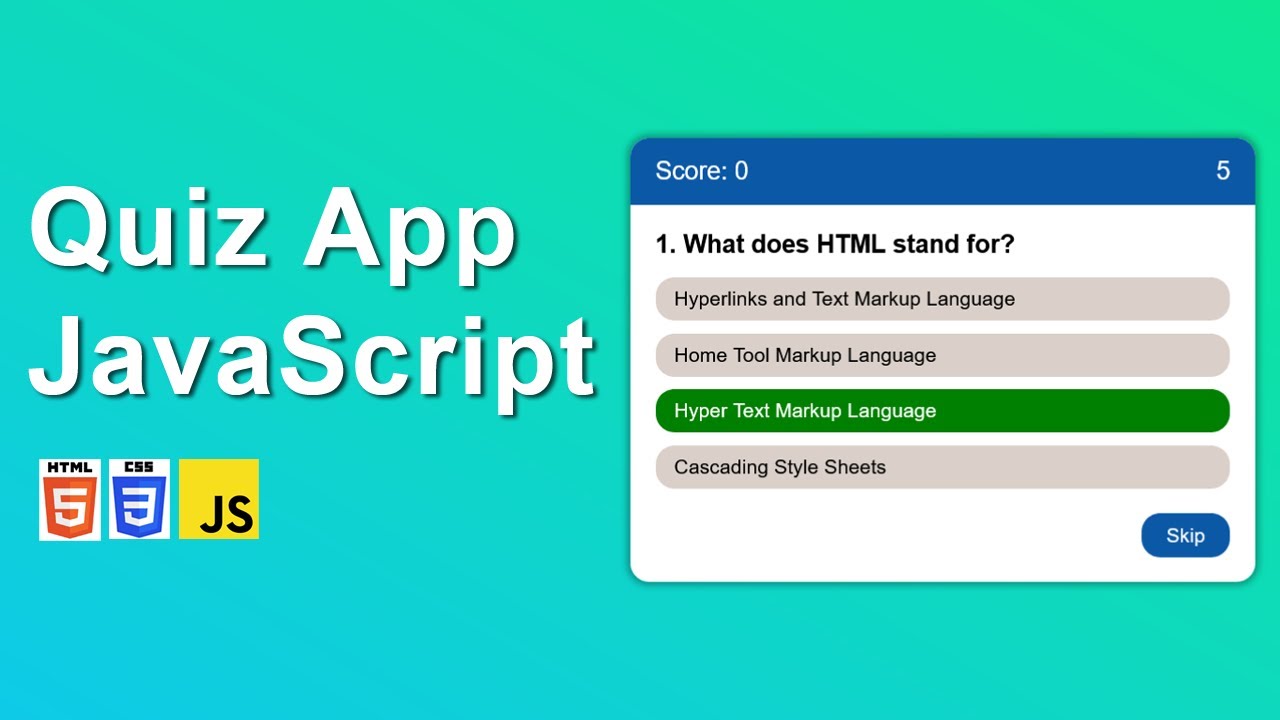
Output
.png)
.png)
Conclusion
Congratulations! You have successfully built a quiz application using HTML, CSS, and JavaScript. This project allows users to test their knowledge by answering multiple-choice questions in an interactive and engaging manner.
Feel free to customize the project further by adding more questions, changing the styles, or incorporating additional features. Let your creativity shine!
